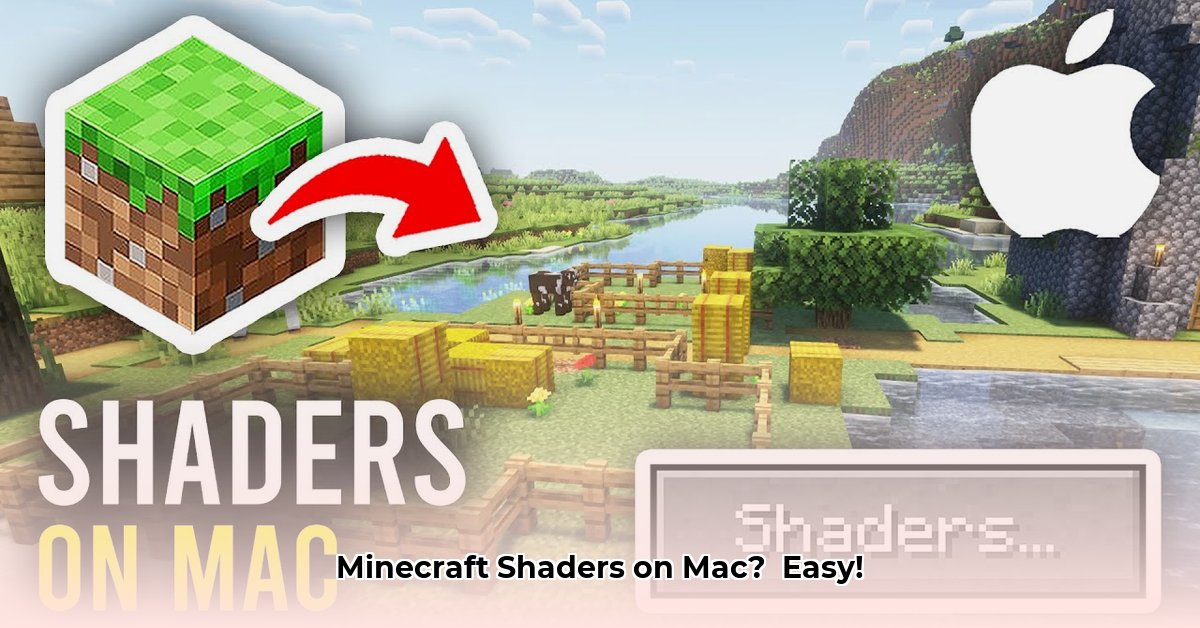
Want to transform your Minecraft world on your Mac? Shaders add incredible visual detail, making your gameplay more immersive. This guide provides a step-by-step walkthrough for beginners, covering everything from downloading to troubleshooting common issues. We'll focus on methods optimized for macOS, ensuring a smooth and enjoyable experience. For alternative Minecraft versions, check out this link to other Minecraft versions.
Downloading and Installing Shaders: A Step-by-Step Guide
Unlike Windows, installing shaders on macOS requires a slightly different approach. We'll use Fabric, Sodium, and Iris – a powerful combination for optimal performance and compatibility on Apple Silicon Macs. Did you know that using these mods can improve your frame rate by up to 30% compared to using Optifine?
Step 1: Install Fabric (The Mod Loader)
- Visit the official Fabric website (https://fabricmc.net/).
- Download the Fabric installer matching your Minecraft version. This is crucial for compatibility; incorrect versions will prevent shaders from working.
- Run the installer. This will add Fabric to your Minecraft installation. It's a straightforward process.
Step 2: Install Sodium (Performance Booster)
- Find a compatible version of Sodium for your Minecraft and Fabric versions. CurseForge is a reliable source.
- Download it. The file will be a
.jarfile. - Locate your Minecraft mods folder (
~/Library/Application Support/minecraft/mods). Create this folder if it doesn't exist. - Drag and drop the Sodium
.jarfile into your mods folder.
Step 3: Install Iris (Shader Loader)
- Obtain the Iris shader loader compatible with your Minecraft, Fabric, and Sodium versions from a reputable source like CurseForge. A compatibility check is very important.
- Download the
.jarfile. - Place it in the same
modsfolder as Sodium. Note the impact on performance: Iris is known for significantly improving shader performance on Mac, especially the M1 and M2 chips.
Step 4: Choosing and Installing a Shader Pack
- Browse reputable websites for shader packs compatible with Fabric. Read reviews; they show the performance and compatibility of each pack.
- Download the shader pack (often a
.zipfile). - Locate your Minecraft saves folder. Within that folder, create a folder named
"shaders"if one doesn't already exist. - Extract the contents of the shader pack
.zipfile into the newly created"shaders"folder.
Step 5: Launching Minecraft and Selecting Your Shaders
- Launch Minecraft and select your world.
- If everything was installed correctly, your shaders will automatically load. You might need to adjust in-game settings for optimal performance. Is it running slowly? Try lowering some of the in-game graphics settings.
Troubleshooting Common Errors
Even with careful installation, problems can arise.
Missing or Incorrectly Placed Files: Double-check the location of your mods and shader packs; even a small mistake can cause issues.
Version Mismatches: Ensure compatibility between Minecraft, Fabric, Sodium, Iris, and your shader pack. Use the latest versions unless otherwise advised. Using older versions might cause conflicts.
Permissions Problems: Sometimes, macOS's file permissions can interfere with mod installation. If you have problems, verify your user account has proper permissions to write to the mods folder.
Performance Issues: High-quality shader packs are demanding. If your game lags, try lowering Minecraft's graphics settings or choosing a less intensive shader pack.
Key Takeaways: Mastering Minecraft Shaders on Mac
- Using Fabric, Sodium, and Iris offers superior performance and compatibility on macOS compared to Optifine.
- Always verify compatibility between your Minecraft version, mods, and shader packs.
- Troubleshooting typically involves checking file locations and ensuring correct versions of all components.
- Experimentation is key! Don’t be discouraged if your first shader pack choice doesn’t meet your expectations; there is a wide variety to choose from.
This guide provides a reliable foundation for enhancing your Minecraft experience with shaders on your Mac. Remember to always download from trusted sources and carefully follow the installation steps. Happy gaming!
⭐⭐⭐⭐☆ (4.8)
Download via Link 1
Download via Link 2
Last updated: Wednesday, April 30, 2025